 Woodworking Ideas Latest Woodworking Design Ideas
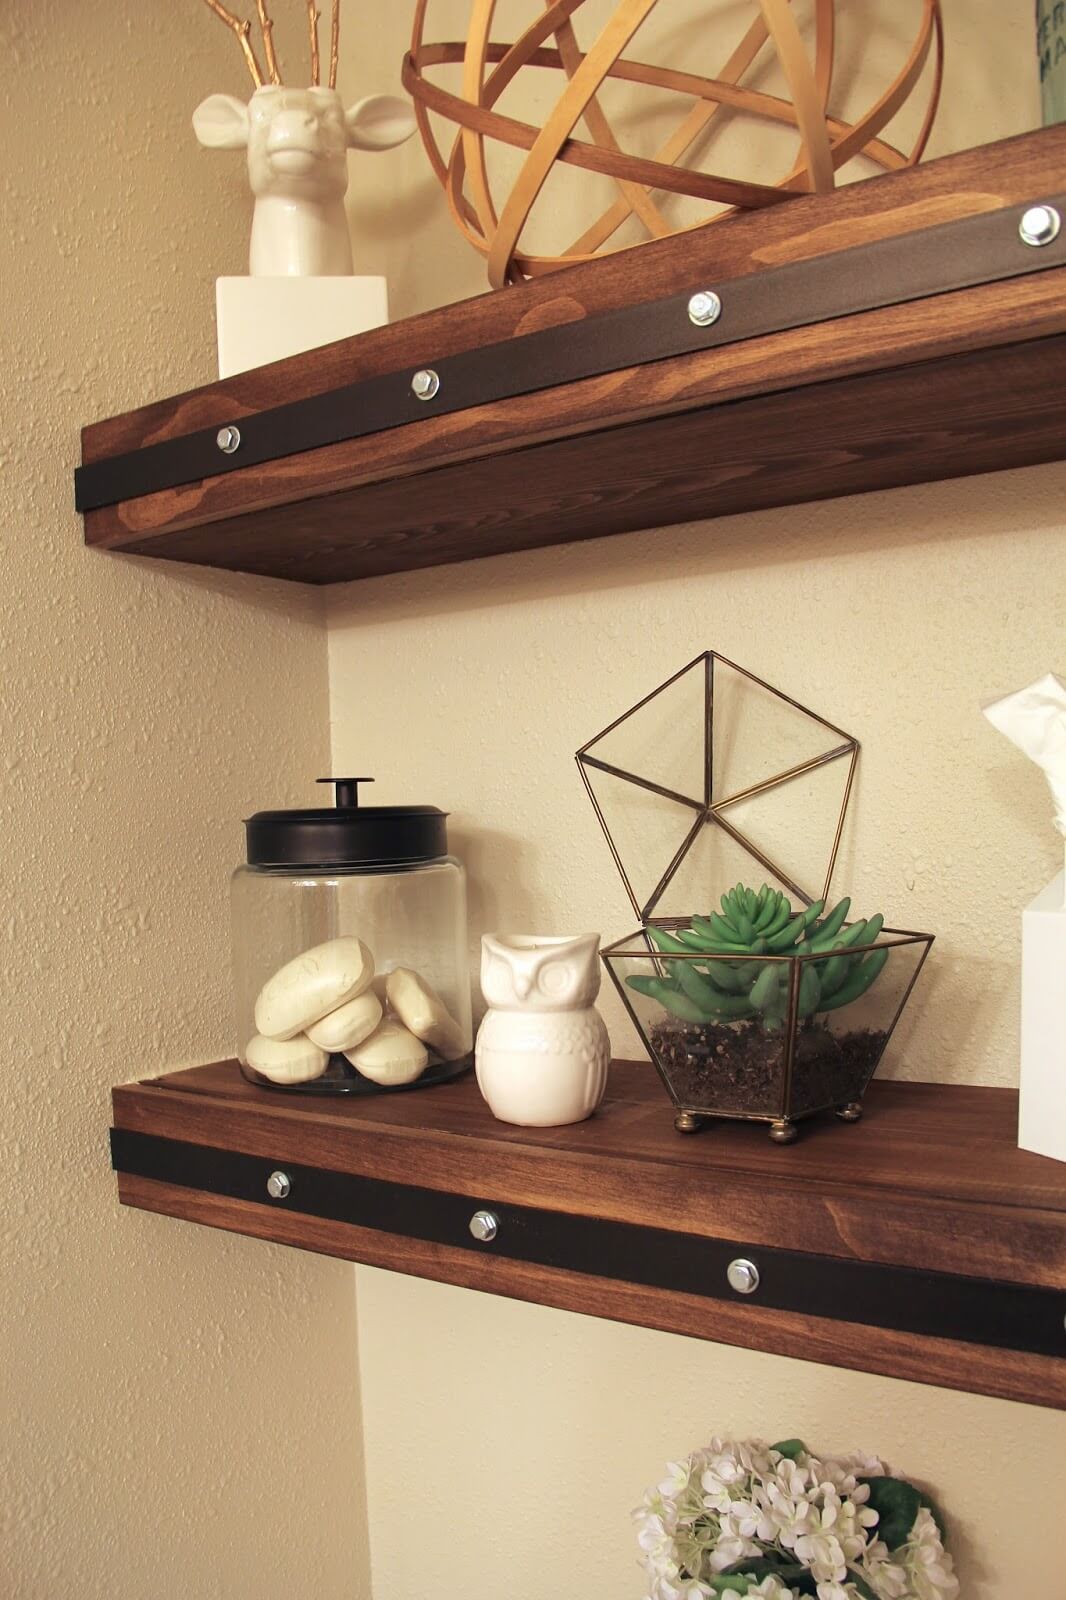
If you’re looking for some unique and stylish home decor ideas, look no further than these DIY floating shelves! These shelves are not only functional, but they also add a touch of elegance to any room in your home.
Table of Contents
DIY Wood Wall Shelf

What is a DIY Wood Wall Shelf?
A DIY Wood Wall Shelf is a customizable shelf that you can make for your home using wood and some basic tools. These shelves can be used to store books, plants, picture frames, and other decorative items.
Why Choose a DIY Wood Wall Shelf?
DIY Wood Wall Shelves are a great alternative to traditional shelves because they can be made to fit any size, shape, or style of room. By making your own shelves, you can create one-of-a-kind pieces that truly reflect your personal style.
Types of DIY Wood Wall Shelves
There are many different types of DIY Wood Wall Shelves you can create, including:
- Traditional Wooden Shelves
- Live Edge Shelves
- Pipe Shelving
- Reclaimed Wood Shelves
- Corner Shelves
Benefits of DIY Wood Wall Shelves
There are several advantages to building your own DIY Wood Wall Shelves, including:
- Customization: You can build shelves that fit your specific needs and style.
- Cost Savings: You can save money by building your own shelves rather than buying expensive store-bought ones.
- Increased Storage: By building shelves yourself, you can create more storage space in your home.
- Satisfaction: There’s nothing quite like the feeling of completing a DIY project and seeing it displayed in your own home!
How to Build a DIY Wood Wall Shelf
If you’re ready to build your own DIY Wood Wall Shelf, follow these steps:
- Gather Materials: You’ll need wood, screws, brackets, a saw, a drill, sandpaper, and stain or paint.
- Measure: Decide on the size and shape of your shelf, and measure and mark the wood accordingly.
- Cut: Use a saw to cut the wood to the desired size and shape.
- Sand: Use sandpaper to smooth out any rough edges on the wood.
- Stain or Paint: Apply a coat of stain or paint to the wood, and allow it to dry completely.
- Mount: Use brackets and screws to mount the shelf to the wall.
Tips for Building a DIY Wood Wall Shelf
Before you get started on your DIY Wood Wall Shelf project, keep these tips in mind:
- Choose the Right Wood: Look for high-quality, durable wood that will hold up well over time.
- Measure Twice: Double-check your measurements to avoid making costly mistakes.
- Be Safe: Always wear safety goggles and gloves when working with power tools.
- Take Your Time: Don’t rush through the project – take your time and enjoy the process!
DIY Floating Shelf Ideas
What are DIY Floating Shelves?
DIY Floating Shelves are a versatile and modern shelving option that can be used in any room of your home. Unlike traditional shelves, floating shelves appear to “float” on the wall, creating a sleek and minimalist look.
Why Choose DIY Floating Shelves?
DIY Floating Shelves are a popular choice for several reasons, including:
- Stylish Design: Floating shelves add a modern touch to any room in your home.
- Easy to Install: Floating shelves are easy to install and require minimal tools and hardware.
- Cost-Effective: Building your own floating shelves can save you money compared to buying pre-fabricated ones.
- Increase Storage Space: Floating shelves provide additional storage space without taking up valuable floor space.
Types of DIY Floating Shelves
There are many different types of DIY Floating Shelves, including:
- Wooden Floating Shelves: A classic and timeless look for any room.
- Pipe Shelving: Gives a modern industrial feel to any space.
- Corner Shelves: Make use of otherwise unused corners in your home.
- Live Edge Shelves: Add a touch of nature and rustic charm to your home.
- Reclaimed Wood Shelves: Use reclaimed or recycled materials for a sustainable and eco-friendly option.
Benefits of DIY Floating Shelves
DIY Floating Shelves have several advantages compared to traditional shelves, including:
- Customizable: You can create floating shelves that fit your unique style and needs.
- Budget-Friendly: Building your own shelves can be a cost-effective option compared to buying pre-fabricated ones.
- Easy to Install: Floating shelves are easy to install with minimal tools and hardware required.
- Space-Saving: Floating shelves provide additional storage space without taking up valuable floor space.
- Stylish: The sleek, minimalist design of floating shelves adds style and sophistication to any room in your home.
How to Build DIY Floating Shelves
If you’re ready to build your own DIY Floating Shelves, follow these steps:
- Gather Materials: You’ll need wood, screws, brackets, a saw, a drill, sandpaper, and paint or stain.
- Measure: Decide on the size and shape of your shelves, and measure and mark the wood accordingly.
- Cut: Use a saw to cut the wood to the desired size and shape.
- Sand: Use sandpaper to smooth out any rough edges on the wood.
- Paint or Stain: Apply a coat of paint or stain to the wood, and allow it to dry completely.
- Install Brackets: Use brackets and screws to install the shelves on the wall.
- Mount Shelves: Place the shelves onto the brackets, and secure them in place.
Tips for Building DIY Floating Shelves
Before you get started on your DIY Floating Shelf project, keep these tips in mind:
- Choose the Right Wood: Look for high-quality, durable wood that will hold up well over time.
- Measure Twice: Double-check your measurements to avoid making costly mistakes.
- Be Safe: Always wear safety goggles and gloves when working with power tools.
- Take Your Time: Don’t rush through the project – take your time and enjoy the process!
Floating DIY Wall Shelf Idea with Wooden Racks

What is a Floating DIY Wall Shelf Idea with Wooden Racks?
A Floating DIY Wall Shelf Idea with Wooden Racks is a unique and customizable shelving option that incorporates wooden racks and treasure boxes into the design. This type of shelving adds a rustic and charming touch to any room in your home.
Why Choose a Floating DIY Wall Shelf Idea with Wooden Racks?
A Floating DIY Wall Shelf Idea with Wooden Racks is a great option for several reasons, including:
- Customizable: You can create shelves that fit your specific style and needs.
- Unique Design: This type of shelving adds a visually interesting touch to any room in your home.
- Budget-Friendly: Building your own shelves can be a cost-effective option compared to buying pre-fabricated ones.
- Easy to Install: Floating shelves are easy to install with minimal tools and hardware required.
Types of Floating DIY Wall Shelf Ideas with Wooden Racks
There are many different types of Floating DIY Wall Shelf Ideas with Wooden Racks you can create, including:
- Single Wooden Racks: A simple and minimalist design that still adds charm to any room.
- Multiple Wooden Racks: A more complex design that provides ample storage space and visual interest.
- Wooden Treasure Boxes: Add a unique touch to your shelves by incorporating wooden treasure boxes into the design.
Benefits of a Floating DIY Wall Shelf Idea with Wooden Racks
There are several advantages to building your own Floating DIY Wall Shelf Idea with Wooden Racks, including:
- Customization: You can build shelves that fit your specific needs and style.
- Cost Savings: You can save money by building your own shelves rather than buying expensive store-bought ones.
- Increased Storage: By building shelves yourself, you can create more storage space in your home.
- Satisfaction: There’s nothing quite like the feeling of completing a DIY project and seeing it displayed in your own home!
How to Build a Floating DIY Wall Shelf Idea with Wooden Racks
If you’re ready to build your own Floating DIY Wall Shelf Idea with Wooden Racks, follow these steps:
- Gather Materials: You’ll need wood, screws, brackets, a saw, a drill, sandpaper, and paint or stain.
- Measure: Decide on the size and shape of your shelves, and measure and mark the wood accordingly.
- Cut: Use a saw to cut the wood to the desired size and shape.
- Sand: Use sandpaper to smooth out any rough edges on the wood.
- Paint or Stain: Apply a coat of paint or stain to the wood, and allow it to dry completely.
- Install Brackets: Use brackets and screws to install the shelves on the wall.
- Mount Shelves: Place the shelves onto the brackets, and secure them in place.
- Add Wooden Racks and Treasure Boxes: Use screws to attach the wooden racks and treasure boxes onto the shelves.
Tips for Building a Floating DIY Wall Shelf Idea with Wooden Racks
Before you get started on your Floating DIY Wall Shelf Idea with Wooden Racks project, keep these tips in mind:
- Choose the Right Wood: Look for high-quality, durable wood that will hold up well over time.
- Measure Twice: Double-check your measurements to avoid making costly mistakes.
- Be Safe: Always wear safety goggles and gloves when working with power tools.
- Take Your Time: Don’t rush through the project – take your time and enjoy the process!
L-Shaped Corner Floating Shelves

What are L-Shaped Corner Floating Shelves?
L-Shaped Corner Floating Shelves are a unique and functional shelving option that utilize the corner space in a room. These shelves provide additional storage space without taking up valuable floor space.
Why Choose L-Shaped Corner Floating Shelves?
L-Shaped Corner Floating Shelves are a great choice for several reasons, including:
- Space-Saving: These shelves provide additional storage space without taking up valuable floor space.
- Customizable: You can create shelves that fit your unique style and needs.
- Unique Design: L-Shaped Corner Floating Shelves add visual interest to any room in your home.
- Budget-Friendly: Building your own shelves can be a cost-effective option compared to buying pre-fabricated ones.
Types of L-Shaped Corner Floating Shelves
There are several different types of L-Shaped Corner Floating Shelves you can create, including:
- Simple L-Shaped Shelves: A basic design that utilizes the corner space in a room.
- Multi-Level L-Shaped Shelves: A more complex design that provides ample storage space and visual interest.
- Wooden and Metal L-Shaped Shelves: Incorporate both wood and metal in the design for a modern and industrial feel.
Benefits of L-Shaped Corner Floating Shelves
There are several advantages to building your own L-Shaped Corner Floating Shelves, including:
- Customization: You can build shelves that fit your specific needs and style.
- Cost Savings: You can save money by building your own shelves rather than buying expensive store-bought ones.
- Increased Storage: By building shelves yourself, you can create more storage space in your home.
- Satisfaction: There’s nothing quite like the feeling of completing a DIY project and seeing it displayed in your own home!
How to Build L-Shaped Corner Floating Shelves
If you’re ready to build your own L-Shaped Corner Floating Shelves, follow these steps:
- Gather Materials: You’ll need wood, screws, brackets, a saw, a drill, sandpaper, and paint or stain.
- Measure: Decide on the size and shape of your shelves, and measure and mark the wood accordingly.
- Cut: Use a saw to cut the wood to the desired size and shape.
- Sand: Use sandpaper to smooth out any rough edges on the wood.
- Paint or Stain: Apply a coat of paint or stain to the wood, and allow it to dry completely.
- Install Brackets: Use brackets and screws to install the shelves on the wall.
- Mount Shelves: Place the shelves onto the brackets, and secure them in place.
Tips for Building L-Shaped Corner Floating Shelves
Before you get started on your L-Shaped Corner Floating Shelves project, keep these tips in mind:
- Choose the Right Wood: Look for high-quality, durable wood that will hold up well over time.
- Measure Twice: Double-check your measurements to avoid making costly mistakes.
- Be Safe: Always wear safety goggles and gloves when working with power tools.
- Take Your Time: Don’t rush through the project – take your time and enjoy the process!


